再コンパイルする OpenSSL 1.1 & NGINX 1.25 以下のために TLS 1.3 (CentOS 7)、サーバーにすでにインストールされているシナリオに従います。 古いバージョン openssl nginxサービスに関連付けられています。
より具体的には、アクティベートできるようにするには、 OpenSSL 1.1.1t サービスのために NGINX、古いバージョンで実行されます。 OpenSSL 1.0.2k.
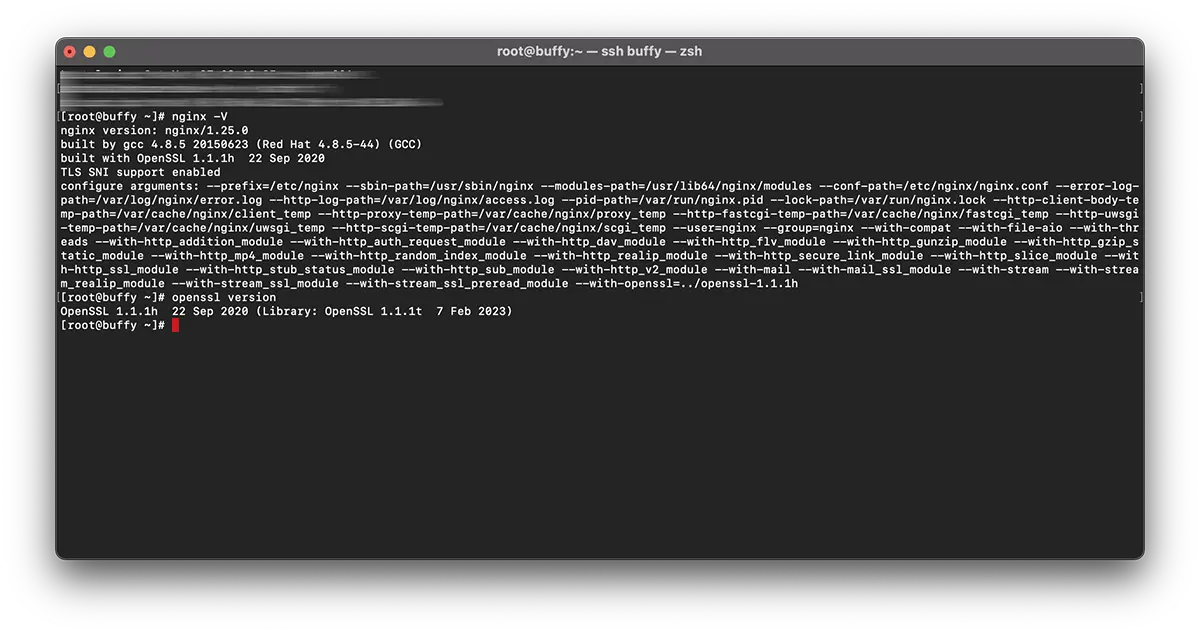
# nginx -V
nginx version: nginx/1.25.0
built by gcc 4.8.5 20150623 (Red Hat 4.8.5-44) (GCC)
built with OpenSSL 1.0.2k-fips  26 Jan 2017
TLS SNI support enabled
# openssl version -a
OpenSSL 1.1.1t 7 Feb 2023これは、 の XNUMX つの異なるバージョンがあることを意味します。 OpenSSL。 「」によってシステムにインストールされたバージョンyum"(1.0.2k-fips) とバージョン OpenSSL 手動コンパイルによってインストールされる (openssl 1.1.1t).
従来、ほとんどの場合、再インストールすることをお勧めします。OpenSSL' サーバーレベルで。 これには、次のコマンドを実行する必要があります。 yum remove openssl。 しかし、ここで大きな問題が発生します。 旧バージョンのアンインストールに伴い OpenSSL、一部の依存アプリをアンインストールする必要がある場合もあります。 そのような: nginx, MariaDB-server, cerbot加えて、より多くの。
より簡単な解決策は再コンパイルすることです openssl 1.1 & nginx 1.25 以下のために TLS 1.3.
キュプリン
チュートリアルを再コンパイルする OpenSSL 1.1 & NGINX 1.25 以下のために TLS 1.3 (CentOS 7)
私の例では、再コンパイルは nginx/1.25.0 & OpenSSL 1.1.1h 本屋を利用する OpenSSL 1.1.1t.
NGINX を再コンパイルします。
1. ファイルを作成します。 nginx-with-tls13-compile.sh
sudo nano nginx-with-tls13-compile.shスクリプトを追加する場所:
#!/bin/bash

## nginx
NGINX=nginx-1.25.0.tar.gz

if [ ! -f "${NGINX}" ];then
    wget https://nginx.org/download/${NGINX}
fi

ND=$(basename $NGINX .tar.gz)
if [ ! -d "${ND}" ];then
    tar zxvf ${NGINX}
fi

cd ${ND}

## pre require package
## yum install gcc pcre-devel zlib-devel

./configure --prefix=/etc/nginx \
    --sbin-path=/usr/sbin/nginx \
    --modules-path=/usr/lib64/nginx/modules  \
    --conf-path=/etc/nginx/nginx.conf \
    --error-log-path=/var/log/nginx/error.log \
    --http-log-path=/var/log/nginx/access.log \
    --pid-path=/var/run/nginx.pid \
    --lock-path=/var/run/nginx.lock \
    --http-client-body-temp-path=/var/cache/nginx/client_temp \
    --http-proxy-temp-path=/var/cache/nginx/proxy_temp \
    --http-fastcgi-temp-path=/var/cache/nginx/fastcgi_temp \
    --http-uwsgi-temp-path=/var/cache/nginx/uwsgi_temp \
    --http-scgi-temp-path=/var/cache/nginx/scgi_temp \
    --user=nginx \
    --group=nginx \
    --with-compat \
    --with-file-aio \
    --with-threads \
    --with-http_addition_module \
    --with-http_auth_request_module \
    --with-http_dav_module \
    --with-http_flv_module \
    --with-http_gunzip_module \
    --with-http_gzip_static_module \
    --with-http_mp4_module \
    --with-http_random_index_module \
    --with-http_realip_module \
    --with-http_secure_link_module \
    --with-http_slice_module \
    --with-http_ssl_module \
    --with-http_stub_status_module \
    --with-http_sub_module \
    --with-http_v2_module \
    --with-mail \
    --with-mail_ssl_module \
    --with-stream \
    --with-stream_realip_module \
    --with-stream_ssl_module \
    --with-stream_ssl_preread_module \
    --with-openssl=../$(basename $OPENSSL .tar.gz)

make

sudo make install

nginx -V
新しいファイルを保存します。
2. 新しい実行可能ファイルを作成します。
chmod +x nginx-with-tls13-compile.shリライト nginx.service
3. バックアップを作成します。 nginx.service.
cat /lib/systemd/system/nginx.service > /srv/nginx_service.txt(任意のパスを選択できます) nginx_service.txt)
4. サービス用のファイルを作成します nginx: nginx.service
sudo nano nginx.service5. ファイル内に新しいファイルを追加します。 nginx.service 次の行を追加します。
##  /lib/systemd/system/nginx.service

[Unit]
Description=The NGINX HTTP and reverse proxy server
After=syslog.target network.target remote-fs.target nss-lookup.target

[Service]
Type=forking
PIDFile=/run/nginx.pid
ExecStartPre=/usr/sbin/nginx -t
ExecStart=/usr/sbin/nginx
ExecReload=/usr/sbin/nginx -s reload
ExecStop=/bin/kill -s QUIT $MAINPID
PrivateTmp=true

[Install]
WantedBy=multi-user.target
6. ファイルを「」にコピーします。daemon"
sudo cp nginx.service /lib/systemd/system/nginx.service7. ファイルがコピーされたら、次のコマンドを使用してファイルのアクセス許可を更新します。
sudo chmod 644 /lib/systemd/system/nginx.service8. 設定をリロードします systemd 次のコマンドを使用して変更を考慮します。
sudo systemctl daemon-reload9. 再起動 ngnix.
sudo systemctl restart nginx再コンパイルする OpenSSL / NGINX 以下のために TLS 1.3
10. ファイルがあるのと同じフォルダー内 nginx-with-tls13-compile.sh シ nginx.service、新しいファイルを作成します。 openssl-1.1-compile.sh.
sudo nano openssl-1.1-compile.shスクリプトを追加します。
#!/bin/bash

## Compile OpenSSL
OPENSSL=openssl-1.1.1h.tar.gz

DONE=openssl-compile-done

if [ ! -f "${DONE}" ] ;then
    wget https://www.openssl.org/source/${OPENSSL}

    tar zxvf ${OPENSSL}

    cd $(basename $OPENSSL .tar.gz)

    ./config shared no-idea no-md2 no-mdc2 no-rc5 no-rc4 --prefix=/usr/local/

    make

    sudo make install

    cd ..

    touch ${DONE}
fi

export LD_LIBRARY_PATH=$LD_LIBRARY_PATH:/usr/local/lib64/

read -n1 -r -p "$(/usr/local/bin/openssl version) - Press any key to continue..." key

source ./nginx-with-tls13-compile.sh
交換 "OPENSSL=openssl-1.1.1h.tar.gz」を、インストールするバージョンに置き換え、NGINX で再コンパイルします。
11. スクリプトを実行可能にします。
chmod +x openssl-1.1-compile.sh12. 次のコマンドを実行します。
./openssl-1.1-compile.sh再コンパイルプロセスが完了するまで待ちます OpenSSL & NGINX.
私たちがお手伝いできること、または追加すべき点がある場合は、コメントセクションが開いています。